Instructions: "FabMo Wreath" from Curtain Remnants
Holiday deco time is here. I am not big on it and despite that statement I have three big boxes full of stuff from vintage tree ornaments to little trees cut out of wood remnants on my neighbors band saw (he is a sweet heart and let’s me use the band saw although I have been known to bend the blade).
Starting October wherever I go, especially flea markets and garage sales I tell myself and or my family “no buying Christmas decoration, none, not a single piece!”
I have been pretty good, not perfect, but who is perfect and the occasional weird ornament, like a UFO or a gin bottle, a doughnut or pink lion was added to the selection.
So it is only with half a guilty conscience that I encourage you to add to your collection of seasonal decoration by making a wreath from (mainly) FabMo materials.
After all it is reusable, re-decoratable and, I think, imminently, giftable.
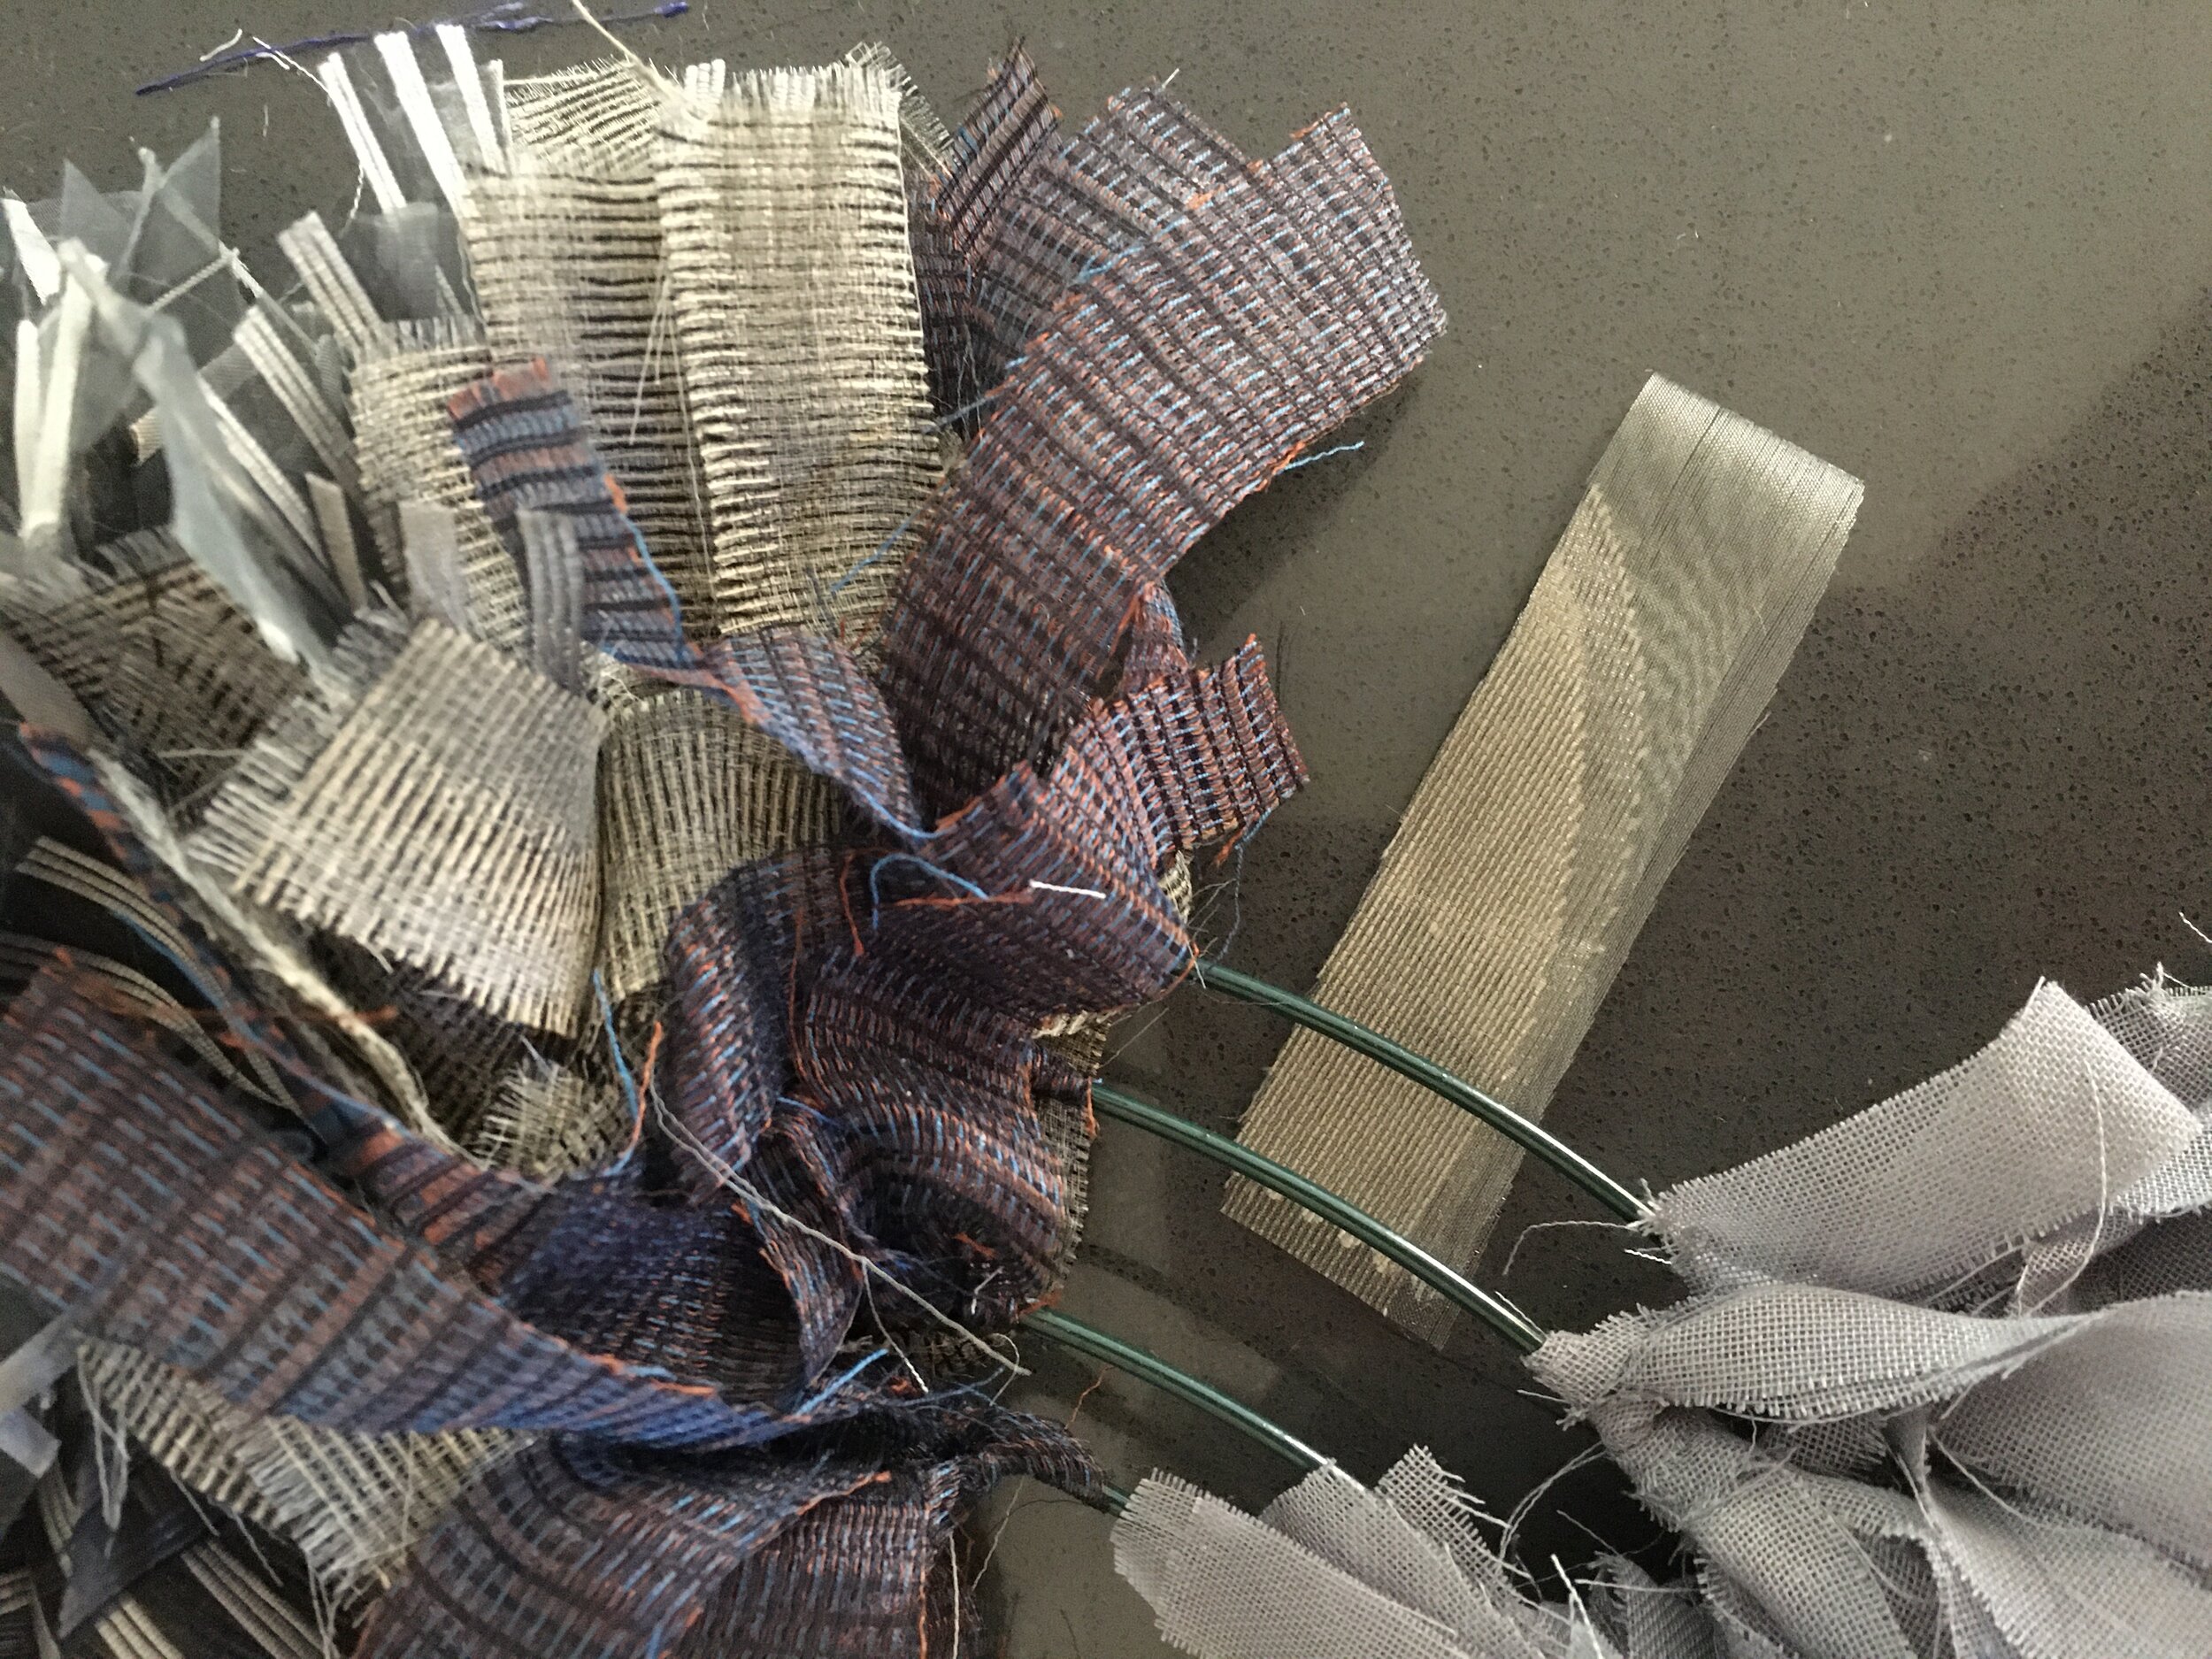
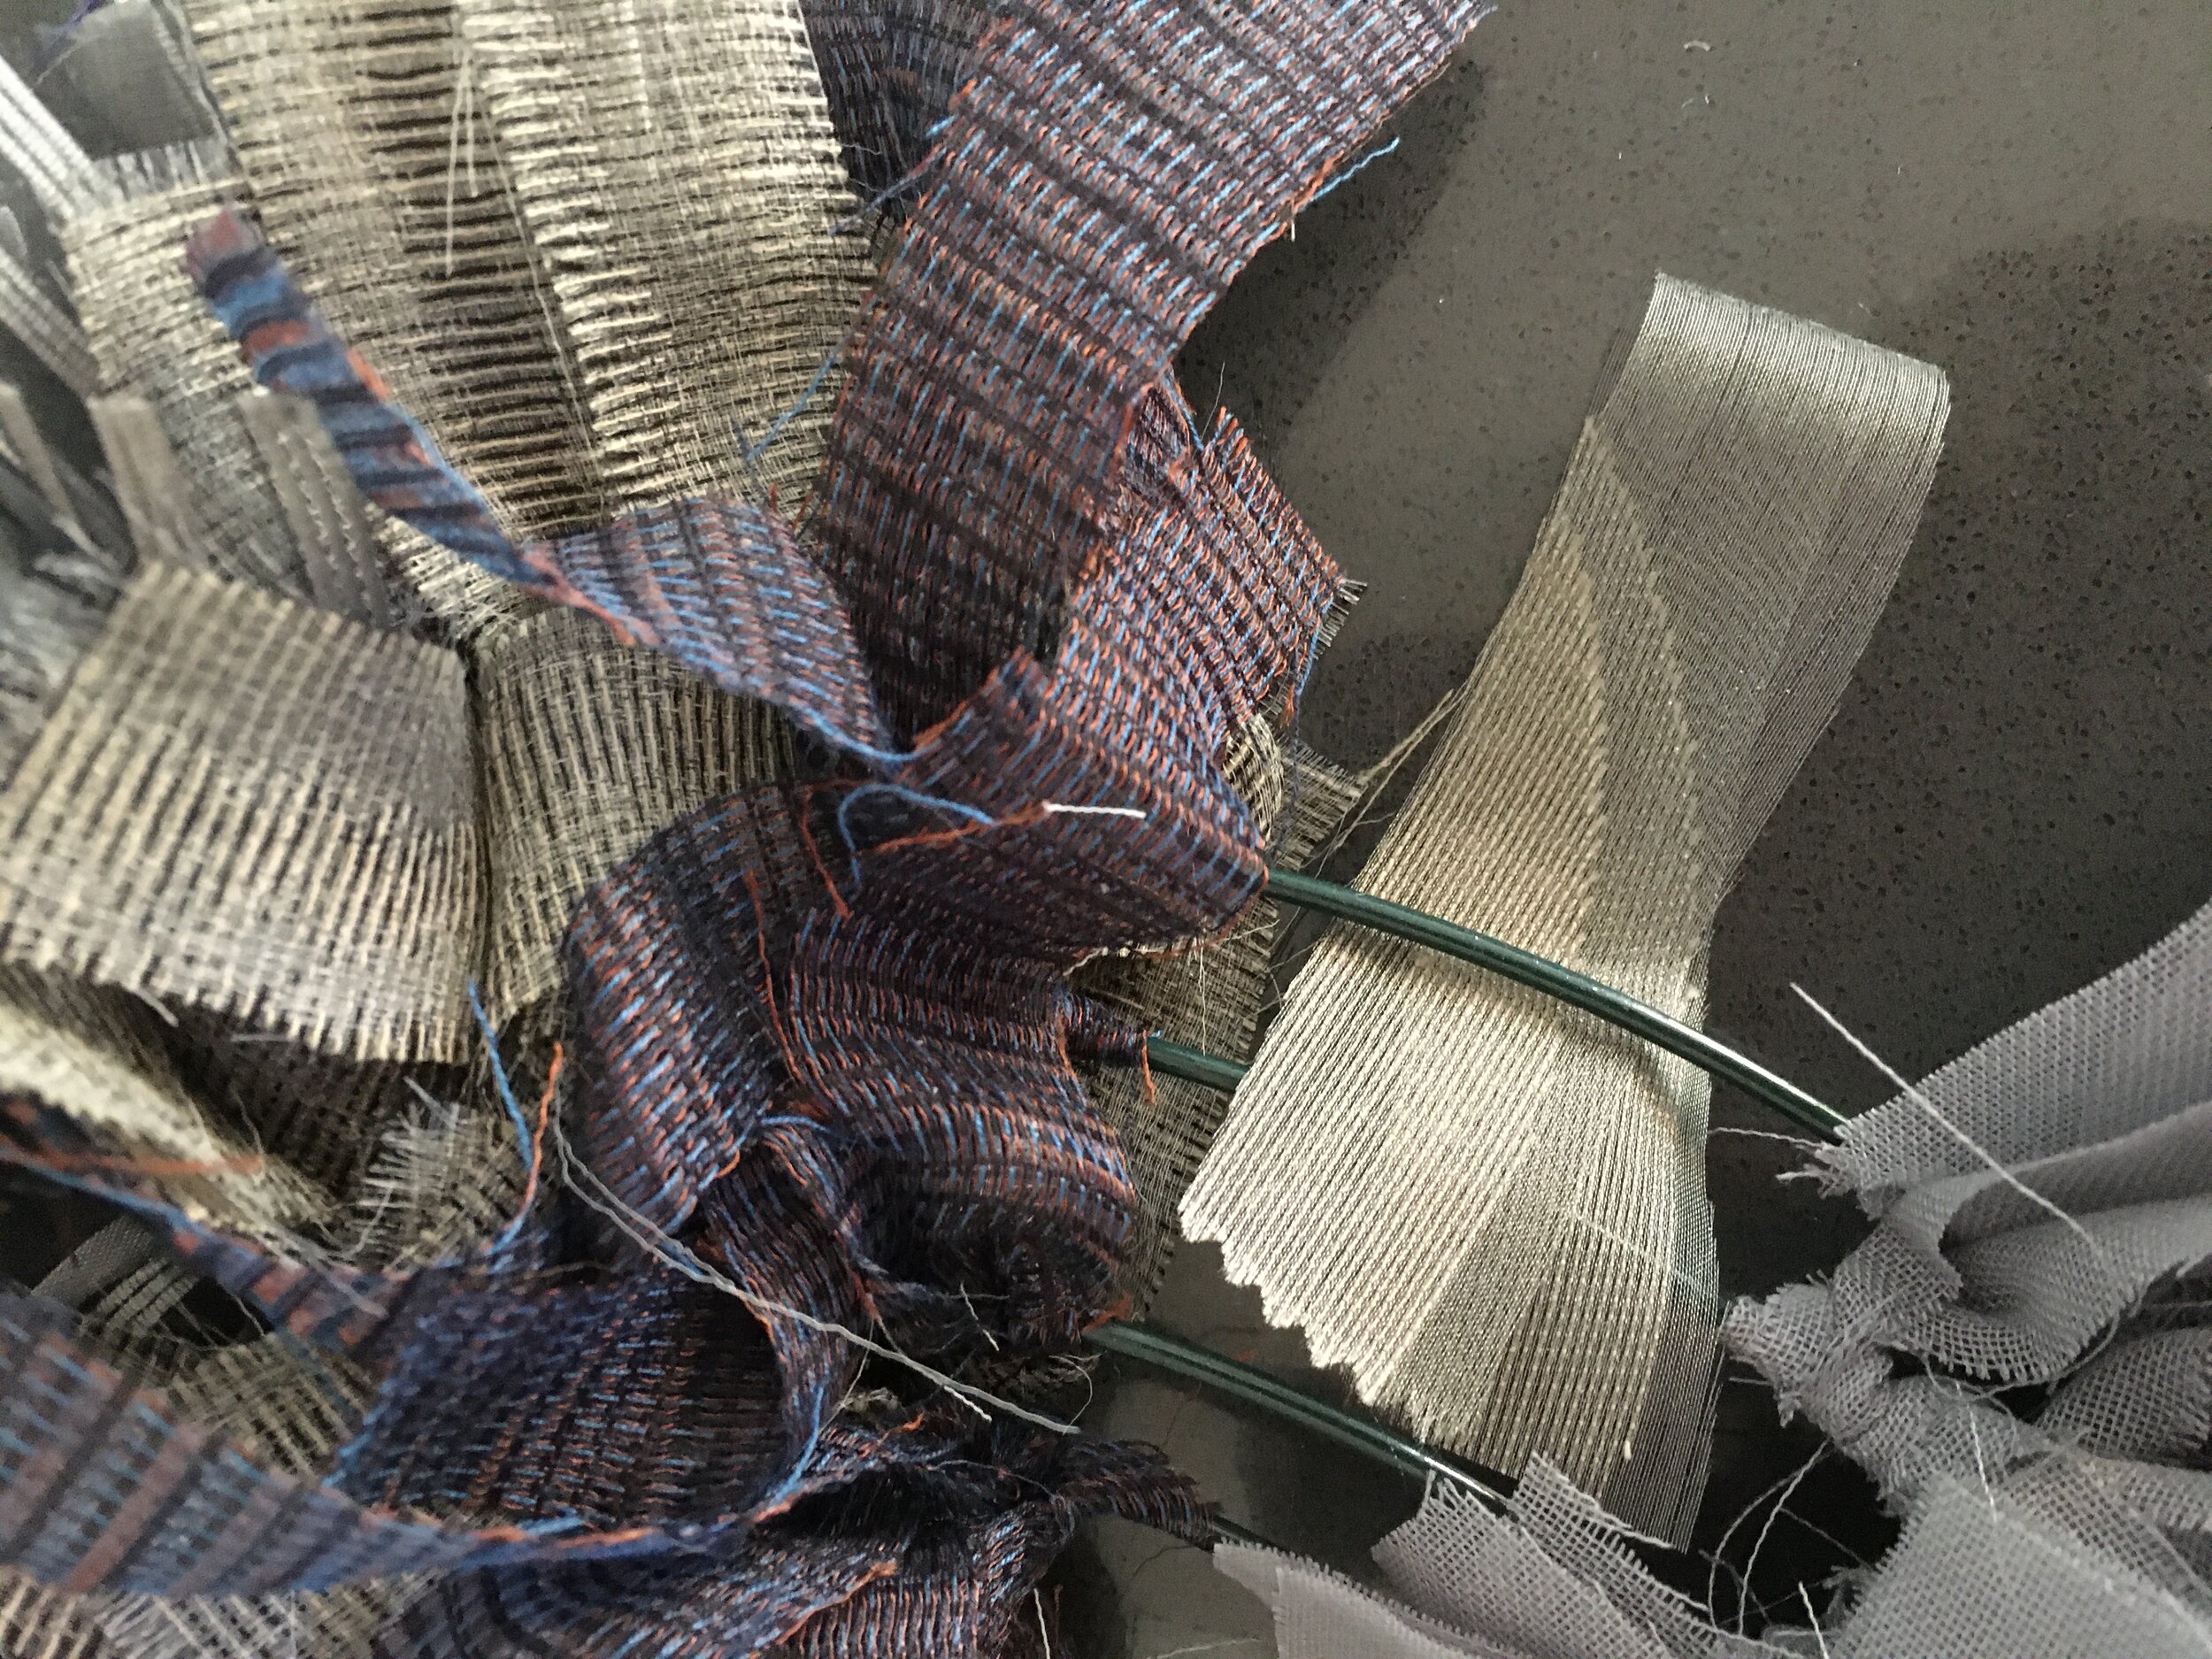
Here is what the finished product looks like.
I like the shabby-chic feel and if you stay with a neutral palette you can spice it up with additional decorations. I might go with all silver ornaments this year but then I have that other idea: what if I decorate it with all my booze themes ornaments (yes, the gin bottle has company, a cocktail glass, elegant wine bottles, a beer can - don’t ask) or go overboard with the fabulous pink and purple feathery birds.
Let’s get back to making the wreath though.
Here is what you need:
A metal wreath form is the basis of the shabby-chic “FabMo wreath”.
a metal wreath form (purchased, sorry, I recommend starting with a fairly small size, like 10 inch in diameter)
a LOT of coordinating FabMo sheers or other thin fabric
scissors
patience
Here is how you make the wreath:
start by cutting the sheers in strips of about 7 inch long and 1/2 to 3/4 of an inch wide. The softer and thinner the material the wider it can be, for sturdier material narrower is better.
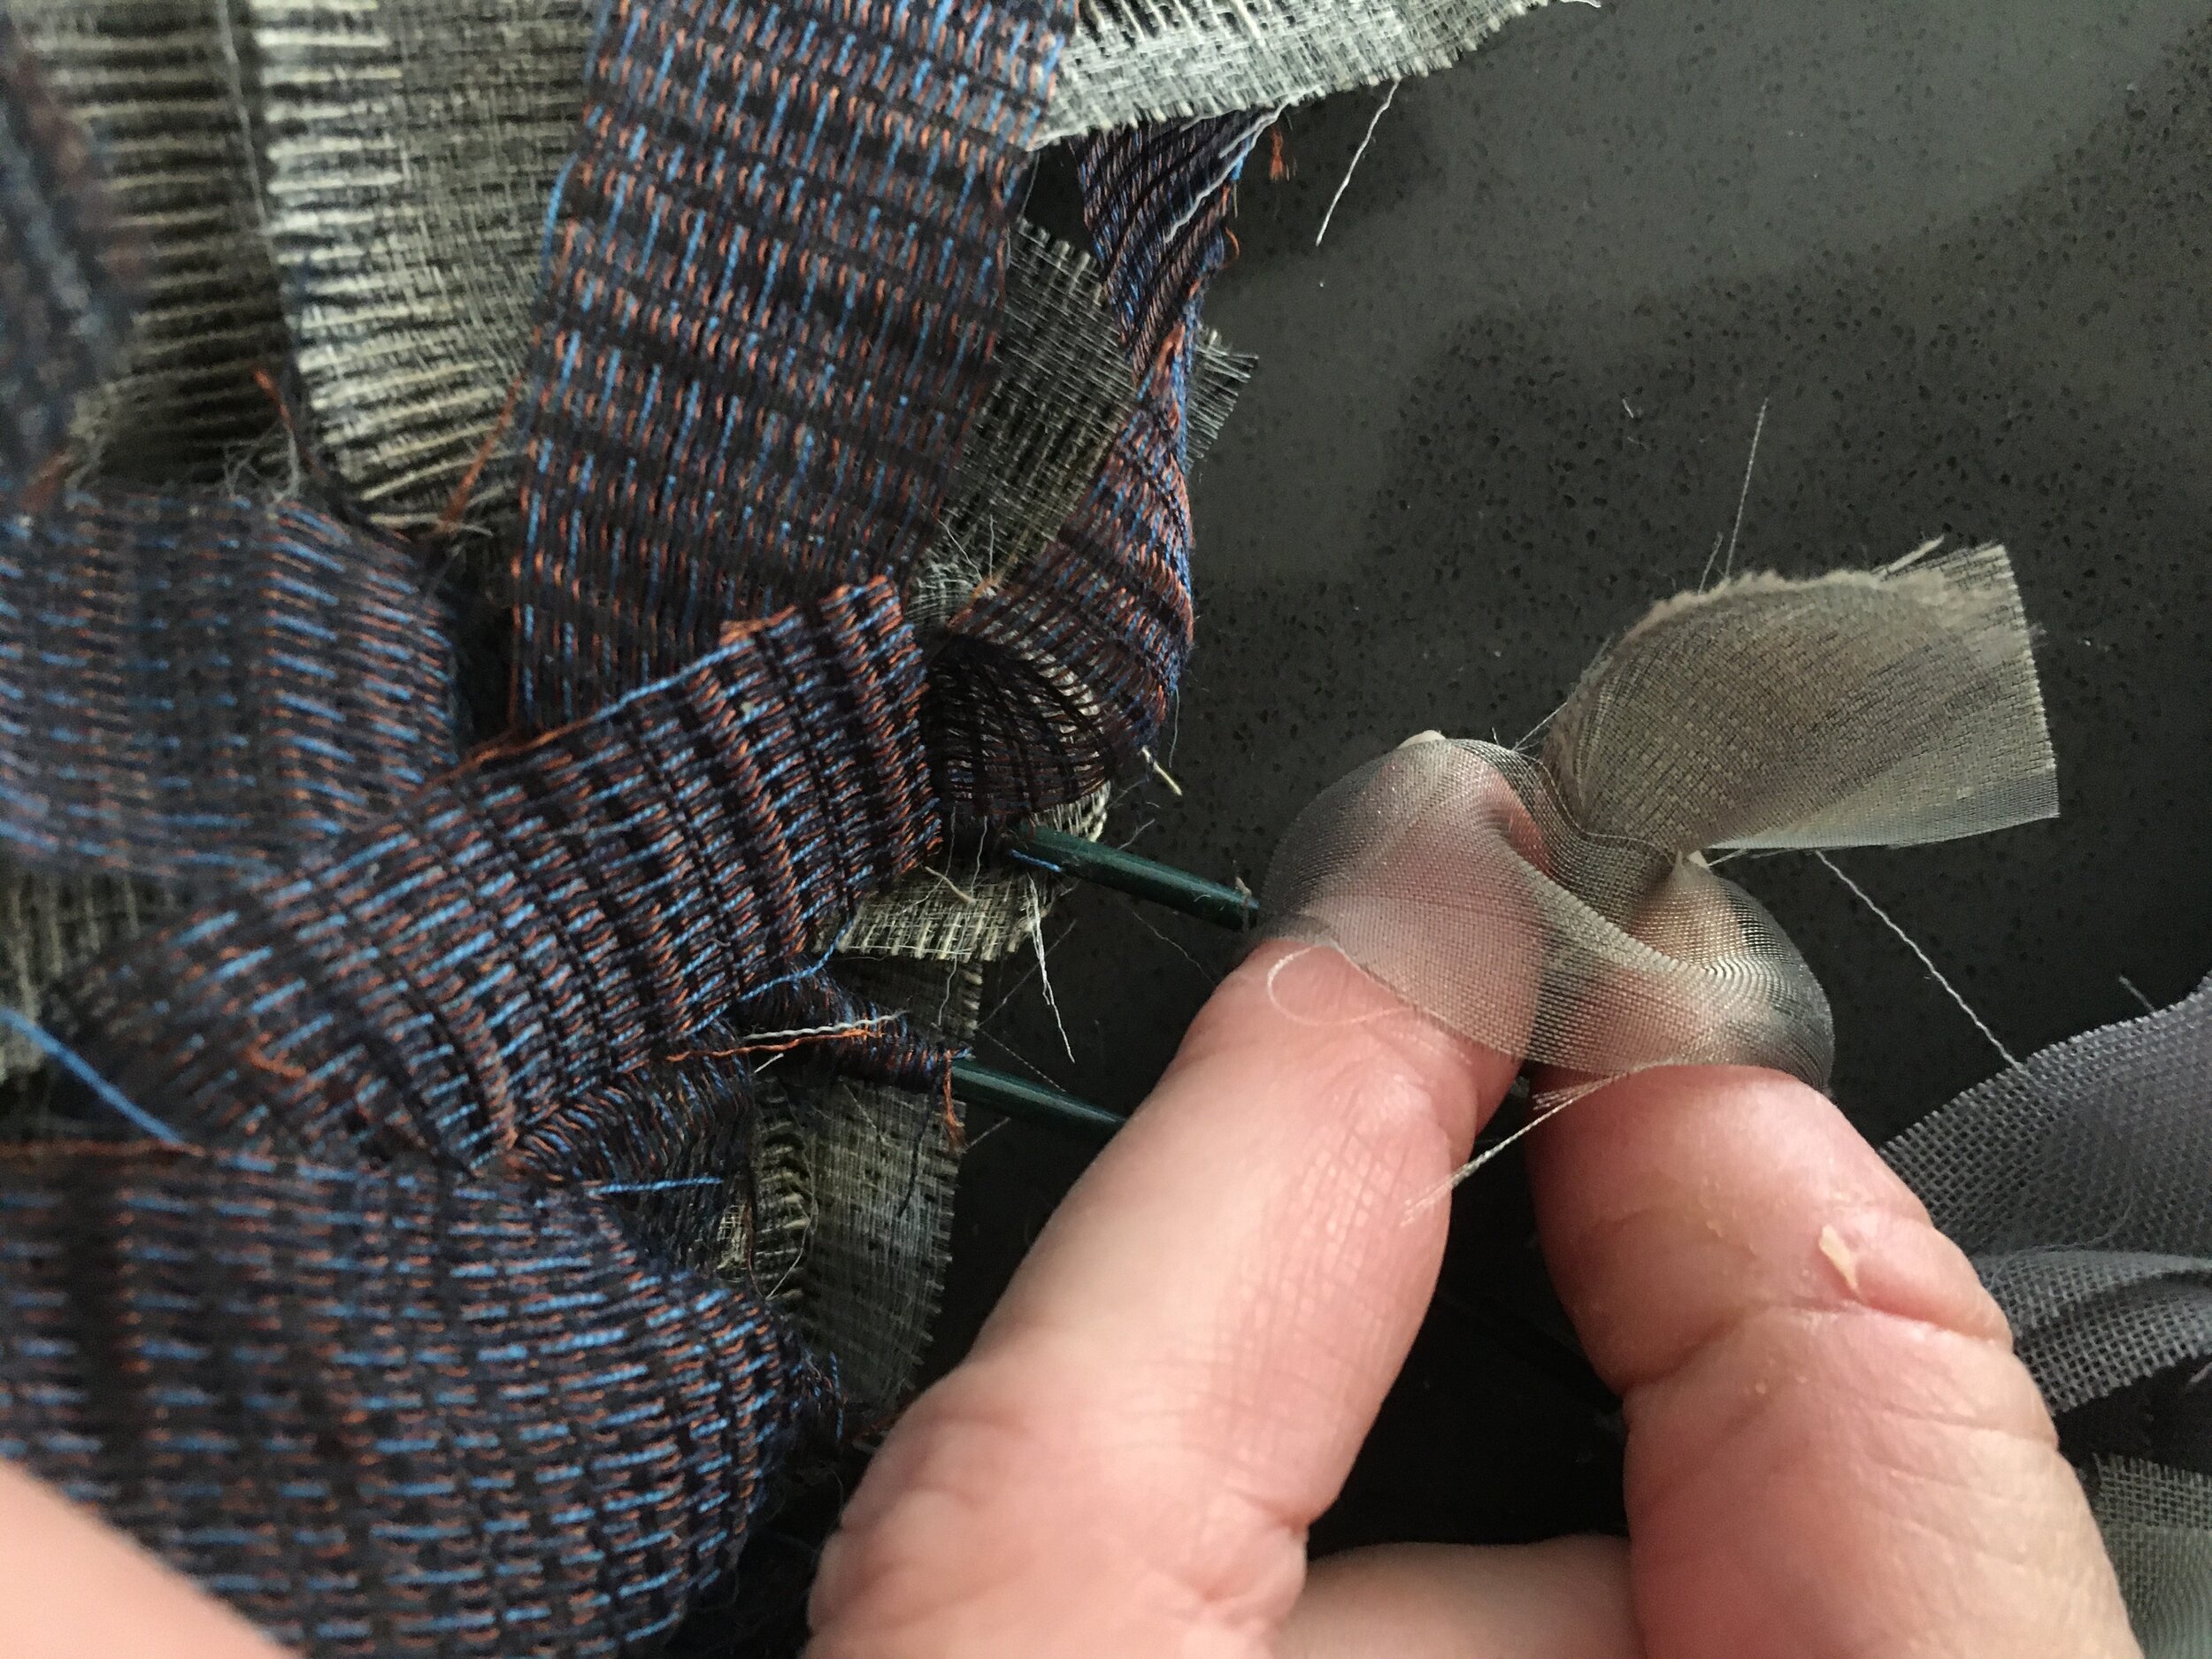
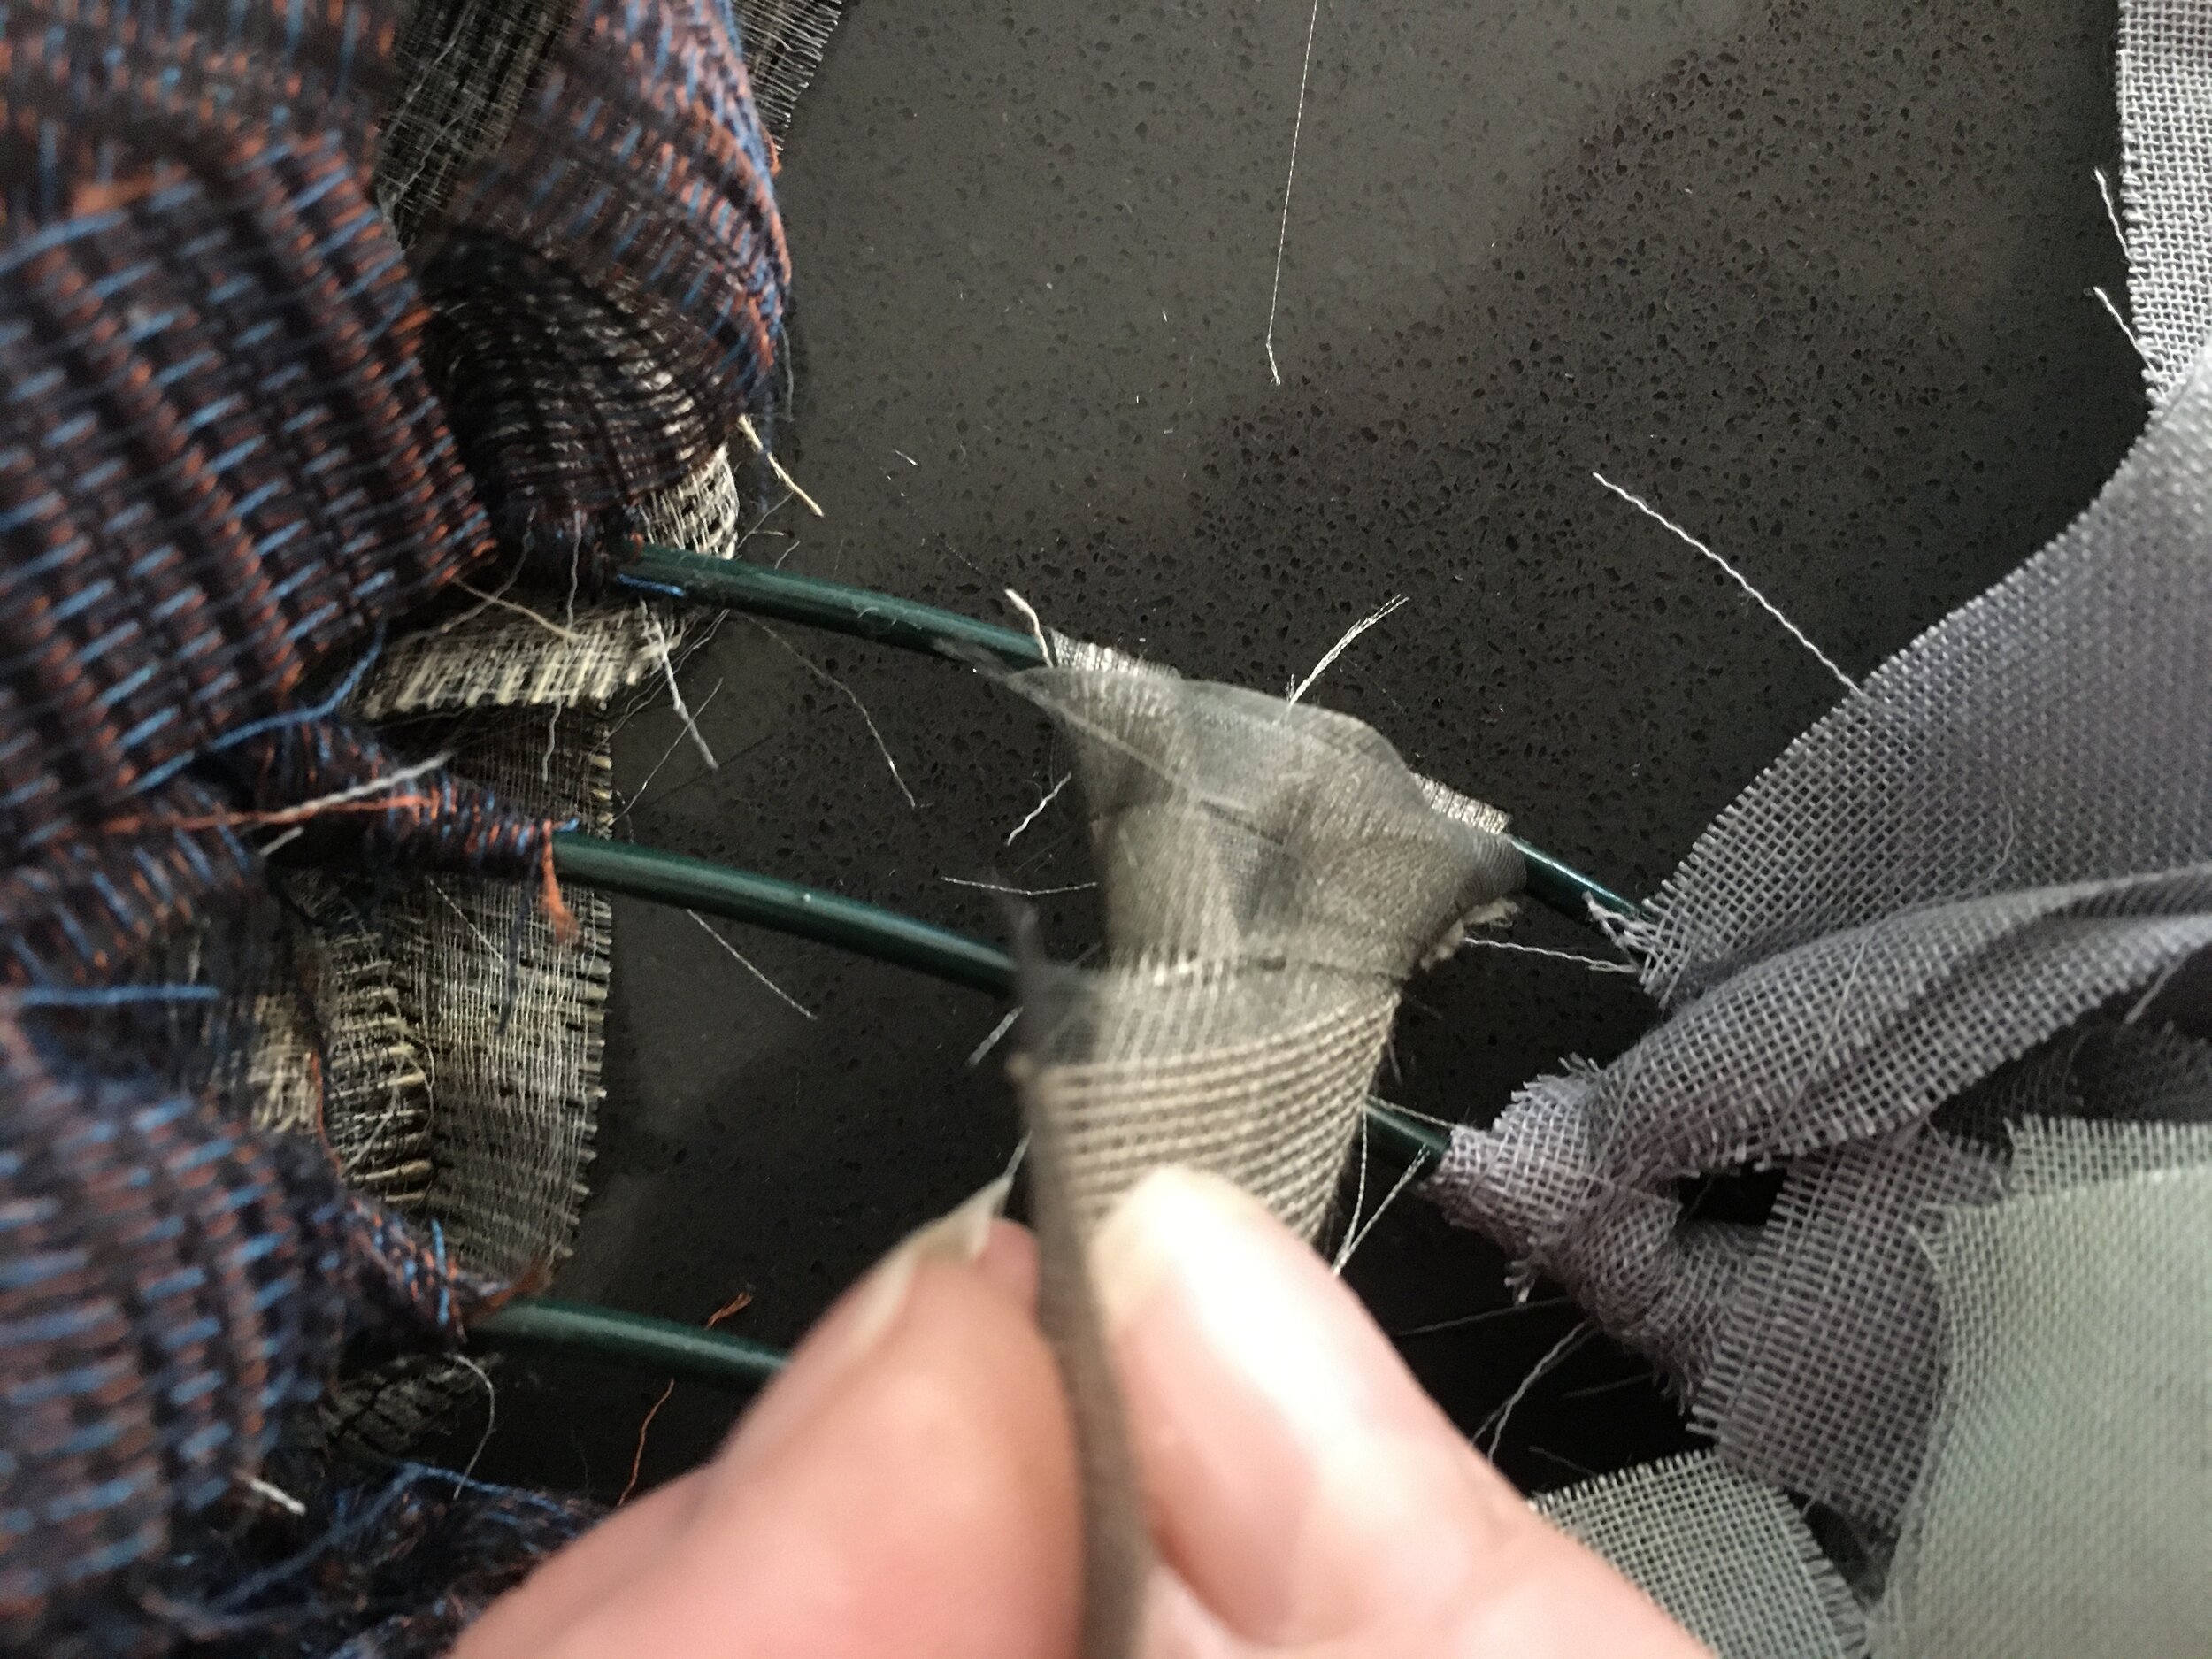
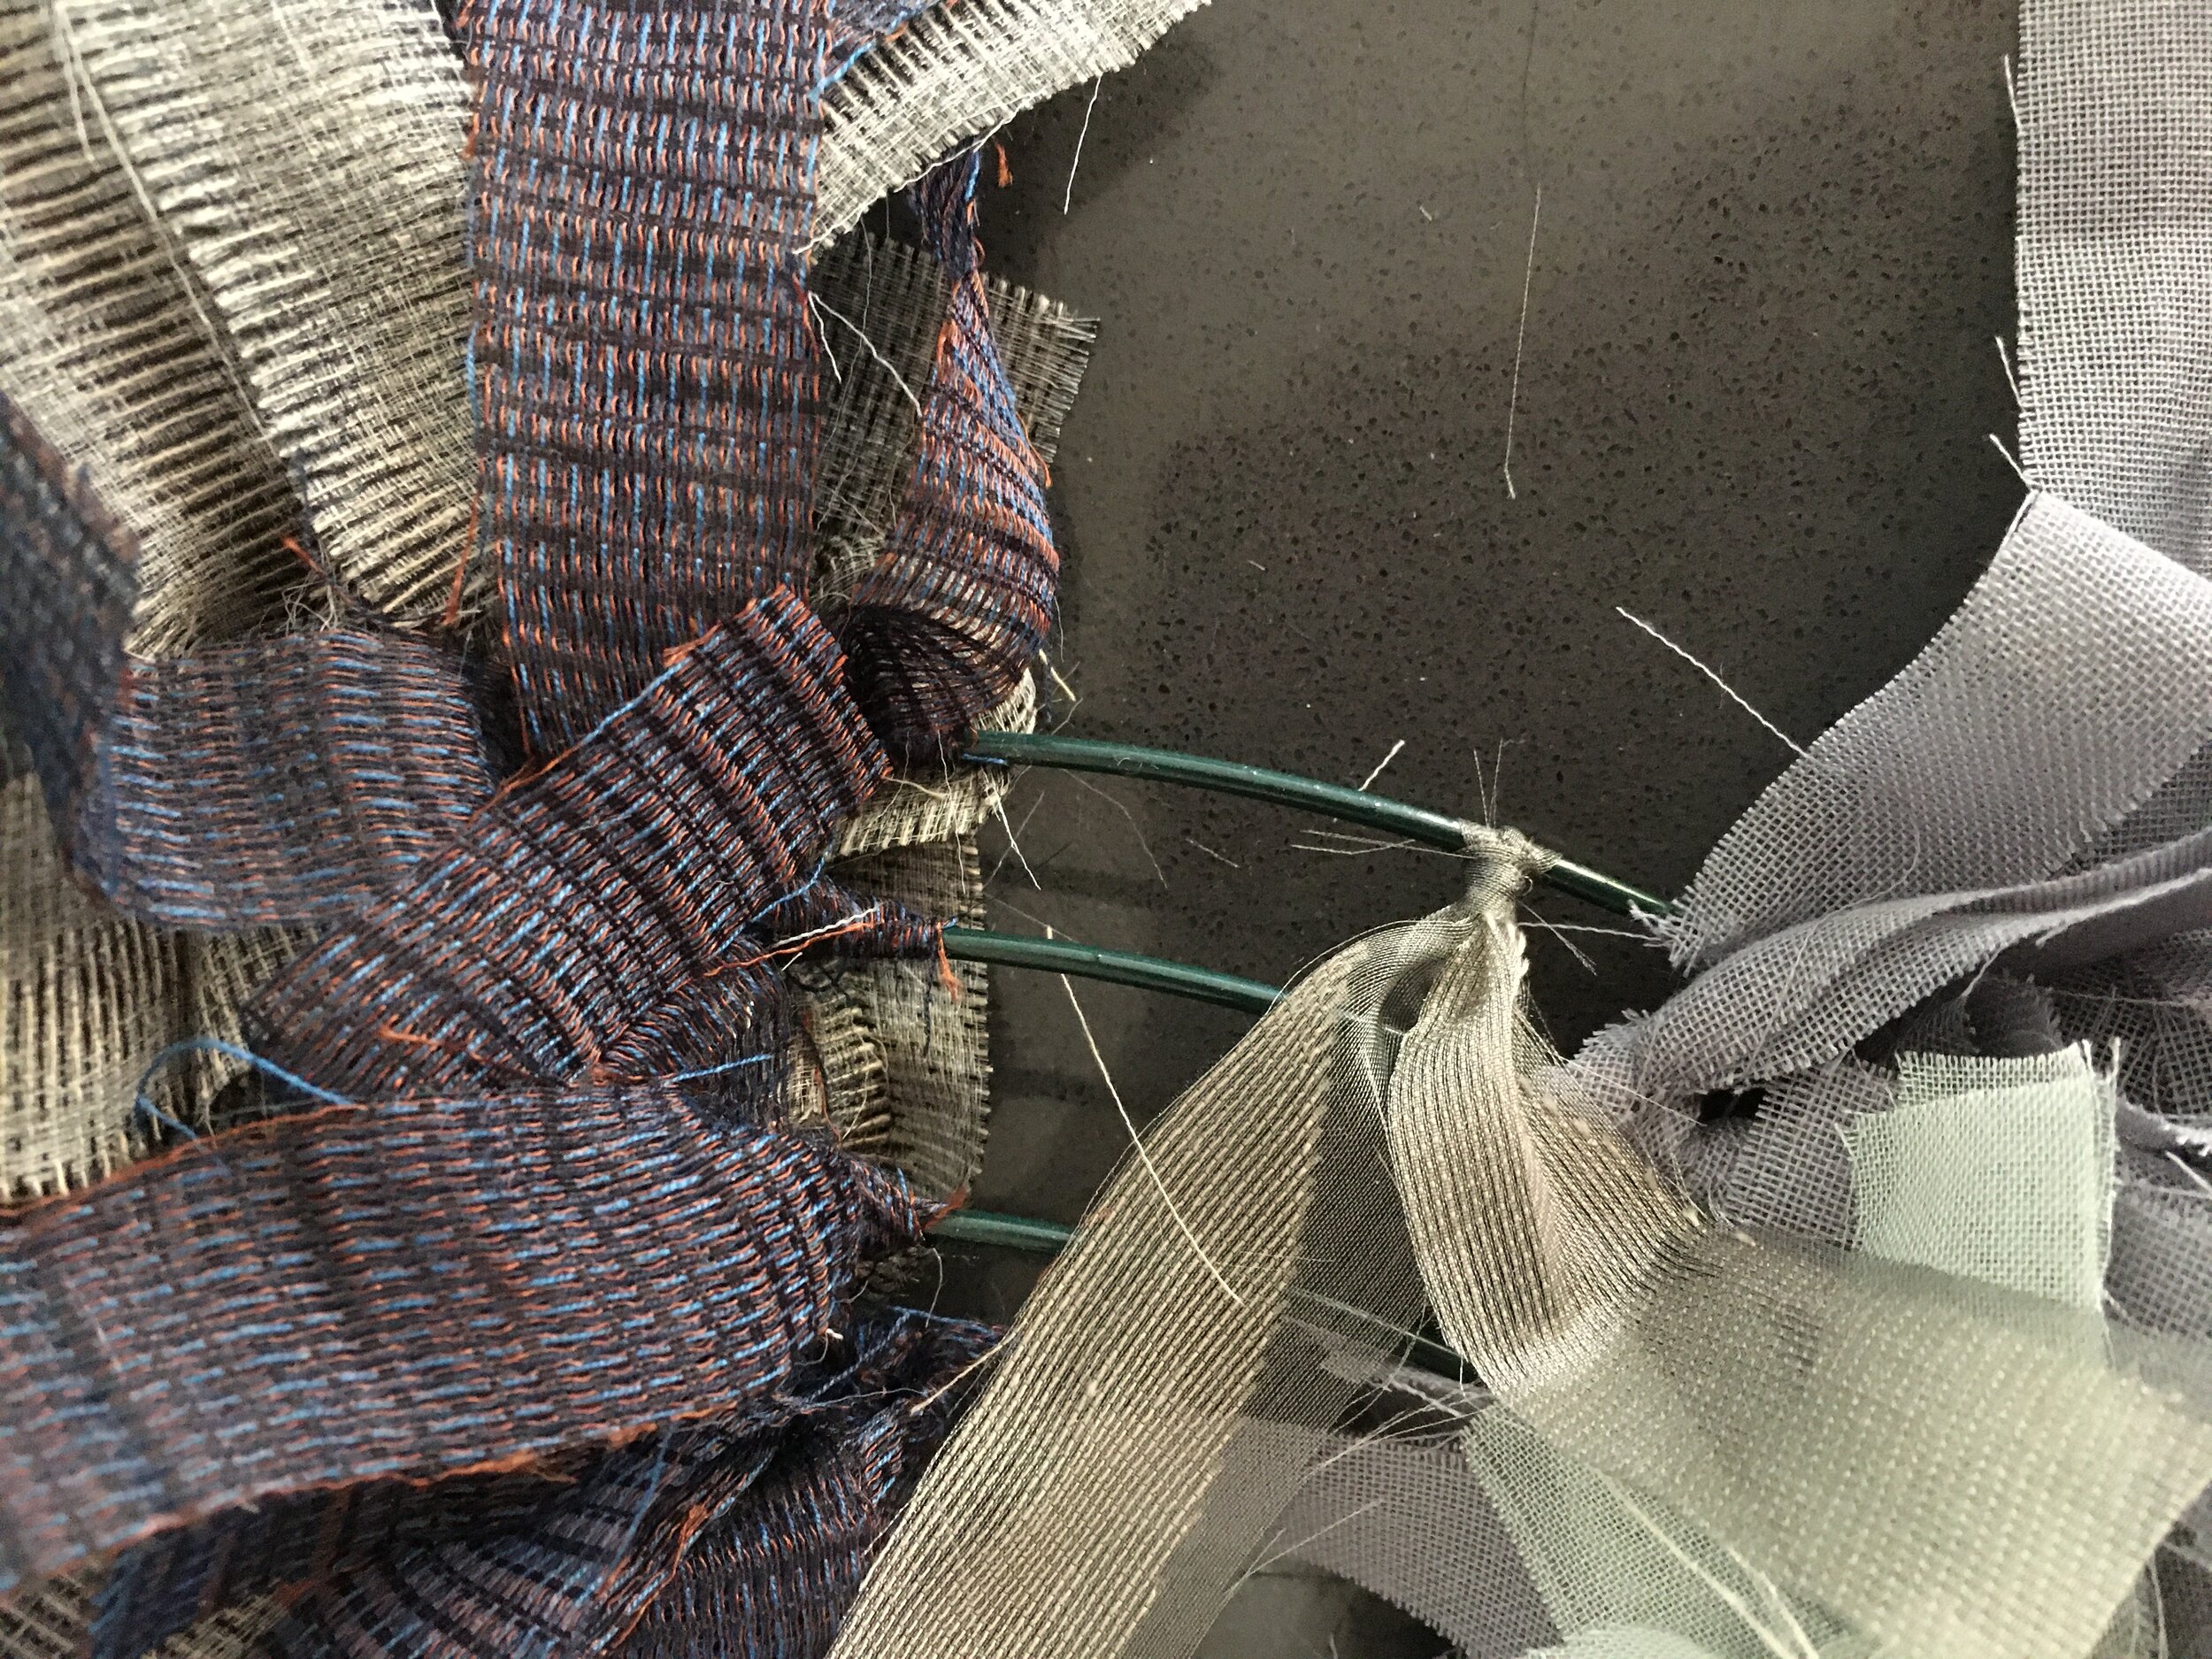
Once you have cut a bunch you can start knotting them to the metal form like so:
Then you make another knot, and another and another … and so on.
I’ll be honest with you, this will take a while so the best thing to do is to sit yourself down in front of the TV and watch Downton Abbey or something similar, something you like and does not require you to intently watch every second to stay on top of the action. Then you do the same thing tomorrow evening and likely the one after that unless you are a much faster knotter than I am. Which is entirely possible.
I tend to cluster fabric of a kind and make sure adjacent clusters match up and don’t make for harsh demarkation lines. But who says that making it more stripy or alternating light and dark colors won’t look fantastic?
Months of collecting green, blue and grey sheers - I am almost done!
If you are planning on using FabMo sheers your wreath will likely be of a warm neutral color as most sheers are a shade of beige or white. We do have the occasional brightly colored sheers but finding enough for a whole wreath will take some serious collecting. I am just now finishing up one in grey and blue - still missing a few inches and will keep my eyes out for blue sheers at the next Selection Event.
Pro Tips
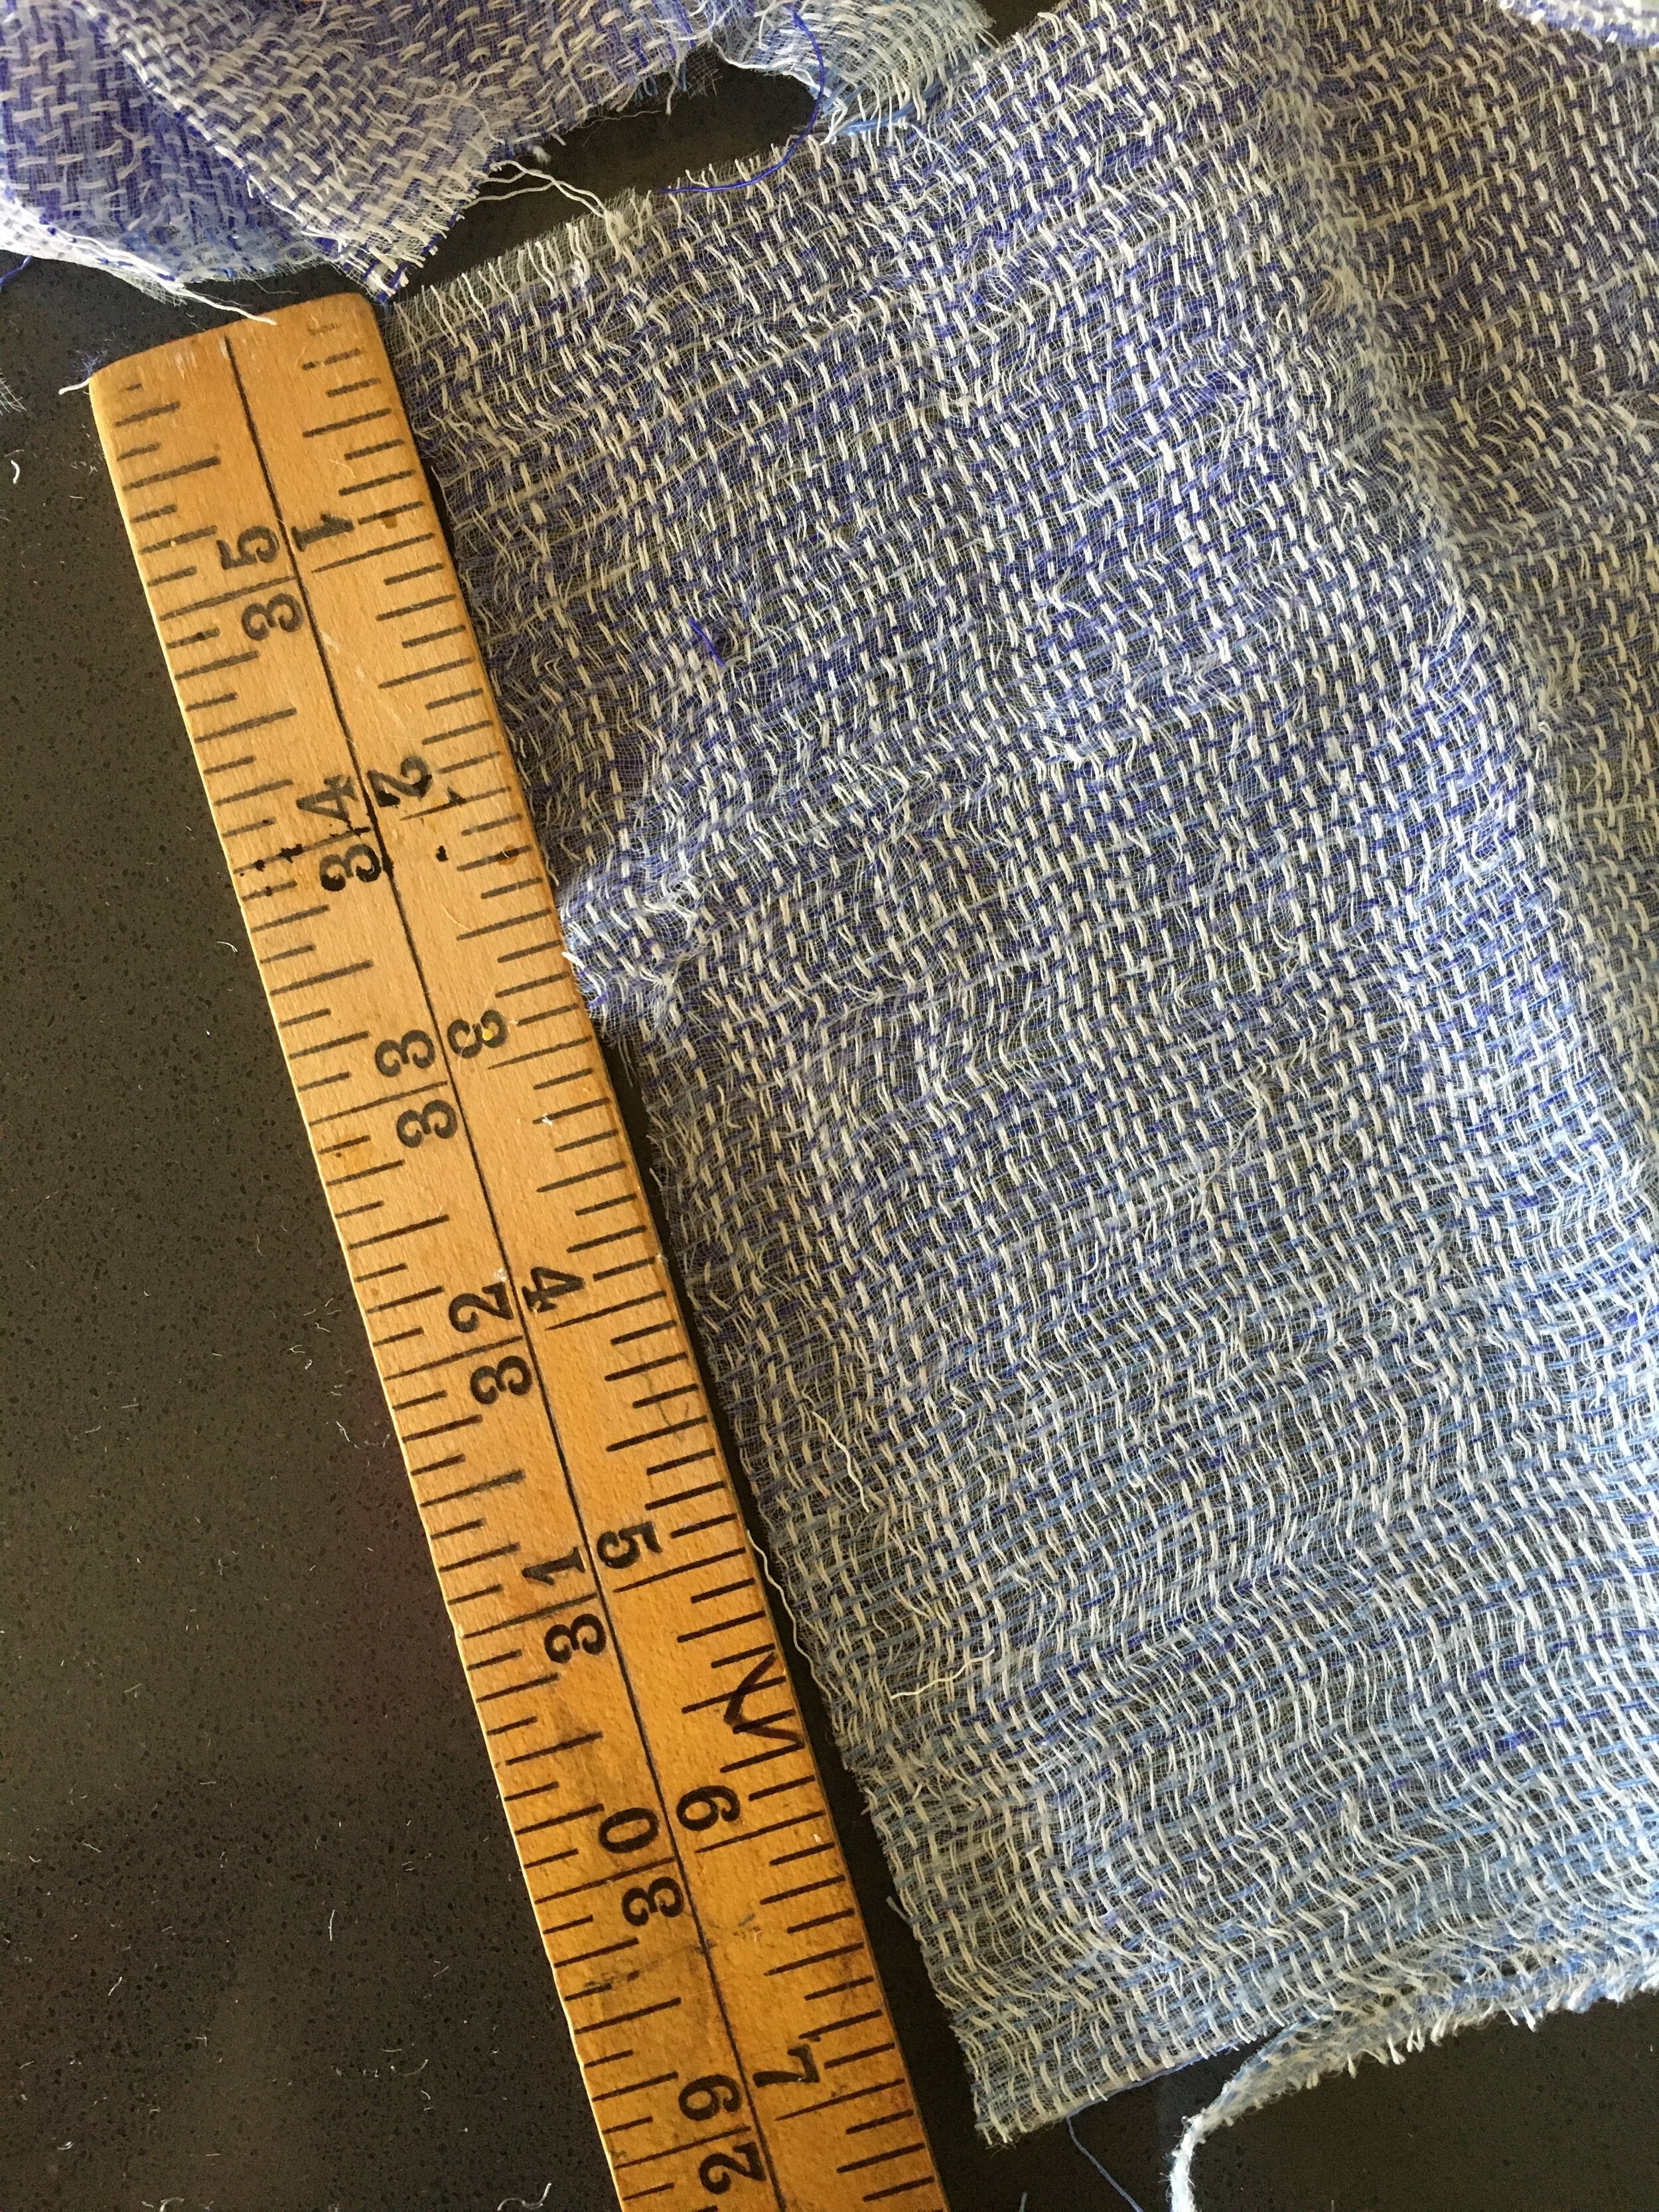
avoid fabrics that shed too much. While a bit of shedding is part of the charm, you don’t want to break out the vacuum every other day to clean up after your wreath. Generally, the rougher the weave, the “sheddier” the fabric gets. For example, I ended up not using the blue fabric show above with the tape measure. I loved the color and all but that stuff was shedding all over the place.
the sturdier the fabric, the thinner you have to cut your strips, else knotting get’s really difficult.
make sure your knots are very tight so the wreath looks full
with very thin/fine fabric I sometimes knot two pieces together, less work but, I think, it looks better than one thick strip.
If you end up making a wreath, please share a picture and your experiences in the comments!


